
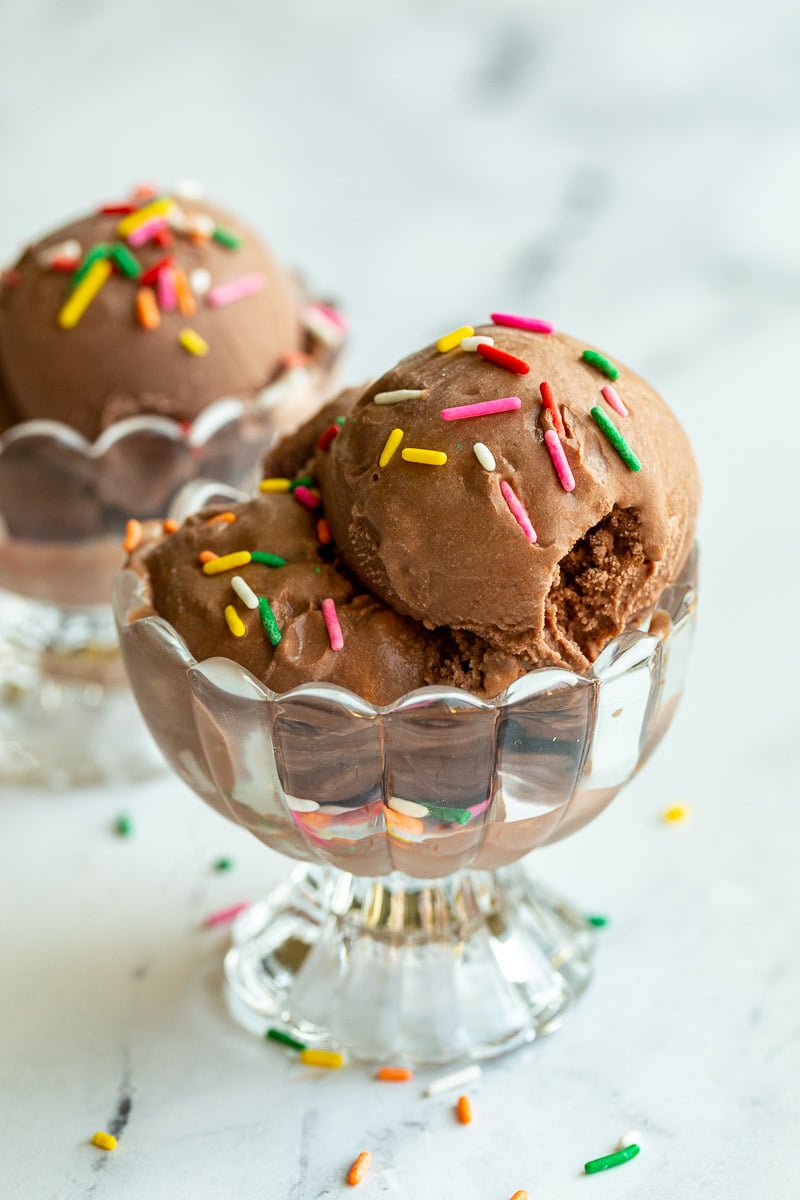
If you’ve got a Ninja Creami then you NEED (yes, need) to try this super easy Ninja Creami Chocolate Ice Cream Recipe! It’s so creamy, decadent, and delicious AND ridiculously easy to throw together thanks to the Creami!
Why you’ll love this creamy chocolate ice cream
I got a Ninja Creami ice cream maker quite a few years ago and I worried that it would be one of those kitchen appliances that we used for a month and then let it get buried in the back of the pantry collecting dust. We go through phases with it for sure but overall, we love having it and use it probably more than we should.
Since then, I’ve upgraded the ninja creami pint container so that we have bigger ones as well as more of them so that we always have several kinds of creami ice cream in the freezer at all times.
We also got these homemade ice cream containers to store the fully prepared ice cream in. That way they aren’t taking up the creami pints if we need them 🙂
Here’s why you’ll love this recipe:
Takes just 5 minutes to make – just blend everything and let the freezer and Creami do the rest of the work!
Only 6 simple ingredients – no fancy add-ins required for this recipe.
Rich + creamy texture – blending the ingredients (rather than whisking) makes a noticeable difference!
Easy to customize – add you favorite mix-ins after processing for endless variations.
Ingredients needed
The simple ingredients for this easy recipe are listed fully down in the recipe card but let’s briefly go over the pantry staples needed including a few substitutions you can make as desired!
Cream cheese – this is optional but highly recommended as it adds richness and flavor that you won’t want to skip! Soften it breifly in the microwave if it’s cold right out of the fridge.
Cocoa powder – the quality of the cocoa powder really matters here. A higher-end cocoa powder makes a noticeably richer ice cream than a basic one. Dark cocoa powder can also be used!
Granulated sugar – this sweetens the base. You can adjust the quantity if you prefer a less sweet ice cream.
Vanilla extract – this rounds out the chocolate taste and brings a richer depth of deep chocolate flavor.
Heavy whipping cream – heavy cream gives the ice cream that rich and creamy texture similar to traditional ice cream.
Whole milk – this balances out the cream so the base isn’t too heavy. Unfortunately, I have not tried this with any dairy free milk like almond milk or coconut milk.
For a boost of protein – you can add in cottage cheese or chocolate protein powder to the blender along with the other ingredients.
How to Make It
Just a reminder that you can find the FULL written homemade chocolate ice cream recipe down in the recipe card, but I want to quickly go over how to make them with visuals for you 🙂
Let’s dive into how to make this ice cream because it’s super simple!
After making this about 6 times, I decided that simply blending all of the ingredients in a blender is the best way to go! A lot of other recipes suggest whisking the ingredients together and that does work ok. However, it’s worth dirtying your blender, in my opinion, to get the creamiest ice cream. Just trust me 🙂
Add all of the ingredients to a high powered blender and blend until fully combined.
There will be quite a few bubbles in the mixture but that is totally fine. You just want to make sure that there are no lumps.
Pour the chocolate mixture into a creami container until it reaches the max fill line, seal, and place upright in the freezer.
Once fully frozen, keep in the freezer until ready to enjoy. Follow the instructions on your Ninja creami machine to blend on the ice cream base and enjoy!
If it doesn’t reach your desired consistency on the first spin, use the re-spin button to spin it again. I prefer mine at a soft serve consistency.
Recipe Tips
Blend, don’t whisk. Blending gives a noticeably creamier texture than whisking the ingredients together by hand.
Invest in good cocoa powder. The difference between a basic and a higher-quality cocoa powder is very noticeable in the final flavor.
Don’t rush the freeze time. A full 24 hours gives the best texture, though 12 hours will work in a pinch.
Store in separate containers. Transferring the creamy ice cream to dedicated storage containers frees up your Creami canisters for the next batch.
Frequently Asked Questions
Yes! the cream cheese is optional, though it adds a noticeable difference in richness and depth of falvor that’s worth keeping if you have it on hand.
Stored in an airtight container in the freezer, it keeps well for about 2 months, although it’s best enjoyed within the first week or two for the creamiest texture.
For sure! Add mix-ins like chocolate chips, crushed cookies, peanut butter, or nuts after initially processing using your Ninja Creami’s mix-ins function, if it has one.
This typically means that the base needs more fat or sugar, both of which help keep ice cream scoopable. Make sure you’re using the full amount of cream and sugar called for, and don’t skip the cream cheese if you can help it.
Ninja Creami Chocolate Ice Cream
Ingredients
Instructions
Video
Notes
Nutrition
The post Ninja Creami Chocolate Ice Cream appeared first on Food with Feeling.